Weddings are wonderfully personal events that reflect the couple’s unique style and spirit. While traditional tiered wedding cakes are timeless, many are turning toward more relaxed, charming options like the rustic cupcake wedding cake. This delightful alternative captures the essence of a countryside celebration while allowing for creativity and variety.
Understanding the Rustic Theme
Rustic style embraces elements that are earthy, vintage, and simple. Think rough-hewn wood, burlap, mason jars, and wildflowers. In the context of a wedding, this theme can take on a whimsical, almost fairytale-like quality when paired with natural settings like barns or gardens. A rustic cupcake wedding cake perfectly aligns with these aesthetics, offering a down-to-earth yet enchanting dessert option.
Advantages of Cupcake Wedding Cakes
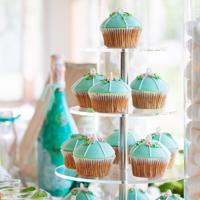
Cupcake wedding cakes can offer several practical benefits. Each guest can enjoy a ready-made portion without the hassle of cutting slices. They’re also highly customizable, allowing for different flavors and styles to accommodate diverse preferences. For more wedding cupcake ideas, consider a cupcake tower.
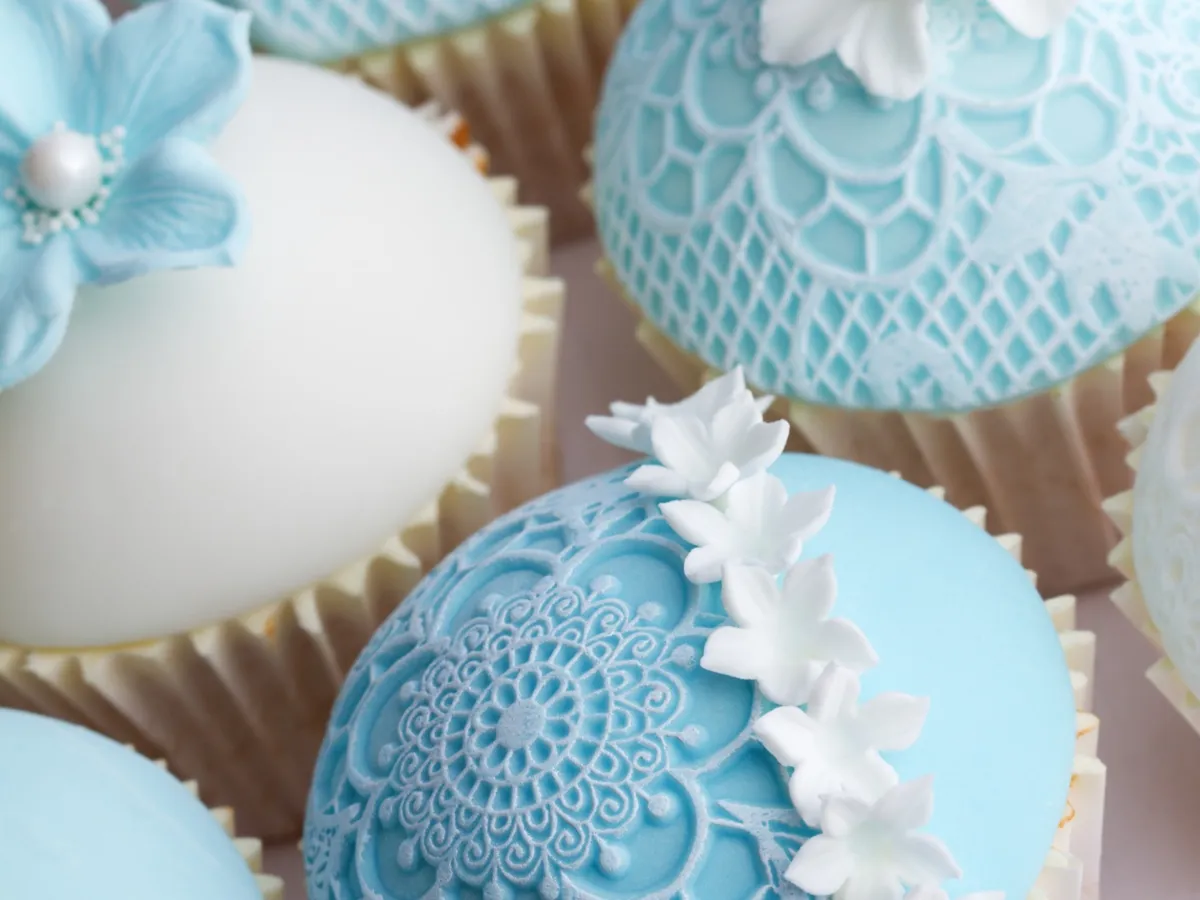
Additionally, they lend themselves to a variety of decorations, from simple icing to elaborate themed designs. Cupcakes can easily echo the other elements in a rustic-themed event, such as incorporating seasonal fruits or edible flowers.
Flavor Ideas for Rustic Cupcakes
The warmth of rustic weddings often pairs well with flavors that are cozy, seasonal, or reminiscent of comfort foods. For instance, consider:
- Carrot with Cream Cheese Frosting: This classic flavor, enriched with spices like cinnamon and nutmeg, is perfect for an autumn celebration.
- Lavender Honey: An excellent match for a spring wedding, this flavor offers a delicate fragrance and taste.
- Apple Cinnamon: A comforting choice, reminiscent of cozy country kitchens.
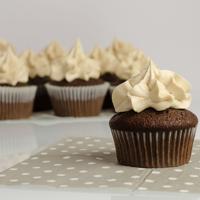
- Chocolate Hazelnut: A rich, indulgent option that pairs beautifully with many rustic decor elements. These would look stunning displayed on a wood cupcake stand.
Experimenting with fillings like salted caramel or berry compote can further enchant the taste buds.
Decorating Your Rustic Cupcake Display
Presentation is key to embodying the rustic theme. Consider these ideas:
- Wooden Displays: Arrange cupcakes on wooden slabs or tree stumps to reflect a natural vibe. For more ideas on unique displays, check out these rustic cupcake stand ideas.
- Mason Jar Accents: Use mason jars filled with wildflowers or rustic tablecloths to complete the look.
- Burlap and Twine: Incorporate burlap and twine around the cupcake display or on the wrappers themselves.
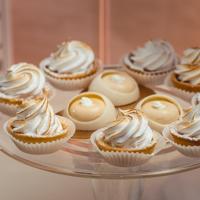
- Edible Flowers and Fresh Berries: These elements not only align with the rustic aesthetic but are also delightful toppings.
Pinterest and Instagram have a plethora of visual inspiration, showcasing the creativity embraced by couples worldwide. For wedding cupcake displays, check out our cupcake display ideas for weddings.
Personal Touches and DIY Options
Adding personal touches can create a cherished memory. Perhaps ask a close family member to contribute their favorite recipes or cupcake decorations. DIY-ing can make the process more intimate, involving family and friends who want to contribute.
Consider spotlighting a family recipe among your cupcake selections. For example, grandma’s renowned vanilla buttercream could be the highlight of the dessert offerings, adding cherished familial love to your celebration. You can find more birthday cupcake ideas to inspire you.
Final Thoughts
The rustic cupcake wedding cake is a beautiful symbol of simplicity and charm. While logistical and aesthetic considerations are essential, what truly matters is the enjoyment and shared joy the cupcakes bring to your memorable day. Whether choosing flavors that resonate with your taste or decorations that match your dream theme, this dessert option offers endless possibilities to reflect who you are as a couple.
Let the process be fun, filled with laughter and collaboration, as it sets the tone for a joyous occasion. With love, patience, and attention to detail, your rustic cupcake wedding cake can be a delightful centerpiece.
Sources:
- WeddingWire and The Knot for rustic wedding decor inspiration.
- Pinterest pages featuring rustic wedding displays.
- Personal anecdotes from individuals who’ve successfully executed similar concepts, perhaps finding inspiration in our Cupcake Inspiration.