The delightful combination of cupcakes and a charming display can elevate any gathering. Creating your own wooden cupcake stand can be a rewarding project that adds a personal touch to your events. I'll guide you through the process as we craft a simple yet elegant stand for your cupcake creations. While I am not a woodworking expert, I'll share what I've gathered from my research and experiences.
Materials You'll Need
Before we start the project, gather the following materials and tools:
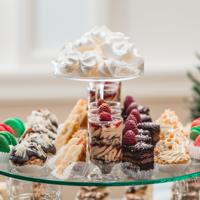
- Wooden Rounds or Discs: Aim for three different sizes, like 6", 10", and 12" diameters, to create a tiered effect. You can find inspiration for different styles, including rustic cupcake stands or ideas for a three-tier cupcake stand.
- Wooden Dowels or Candlesticks: For the stand’s tiers. Ensure they are sturdy and can support the weight of your wood rounds and cupcakes.
- Wood Glue: A strong adhesive to hold everything together.
- Sandpaper: 120-grit for initial sanding, and 220-grit for a smooth finish.
- Wood Finish or Paint: Optional, to enhance the wood's appearance or match your event's theme. For inspiration, check out our guide on wood cupcake stands.
- Drill: Helpful for creating holes in the center of each wooden round if necessary.
- Screws: Used for additional support if needed.
Step-by-Step Guide
Here’s a step-by-step guide to making your wooden cupcake stand:
Step 1: Prepare the Wood
- Select Your Wood: Choose the type of wood that suits your aesthetic. Pine or plywood are easy to work with for beginners.
- Sand the Surfaces: Begin with 120-grit sandpaper to smooth out any rough edges. Finish with 220-grit for a sleek surface, ensuring all faces and edges are even.
Step 2: Create the Structure
- Align the Wooden Rounds: Decide on the order of your tiers, with the smallest disc on top.
- Drill Holes (Optional): If using dowels, drill holes in the center of each wooden round and dowel. This helps align and stabilize the structure.
- Assemble Using Dowels or Candlesticks: Attach the dowels or candlesticks between each tier with wood glue for primary support. Let it dry thoroughly; follow your glue's drying time instructions.
Step 3: Secure and Stabilize
- Reinforce with Screws (Optional): Depending on your load needs, you may drill small guide holes and insert screws for extra security between each tier and dowel.
- Double-Check Stability: Assure that your stand is sturdy by gently placing your cupcakes and adjusting as necessary. Be cautious not to overload the structure. For more information on choosing a sturdy cupcake stand.
Step 4: Finish the Stand
- Apply Wood Finish or Paint: If you wish to customize the look, now is the time to add your chosen finish or paint. Let it fully cure before use.
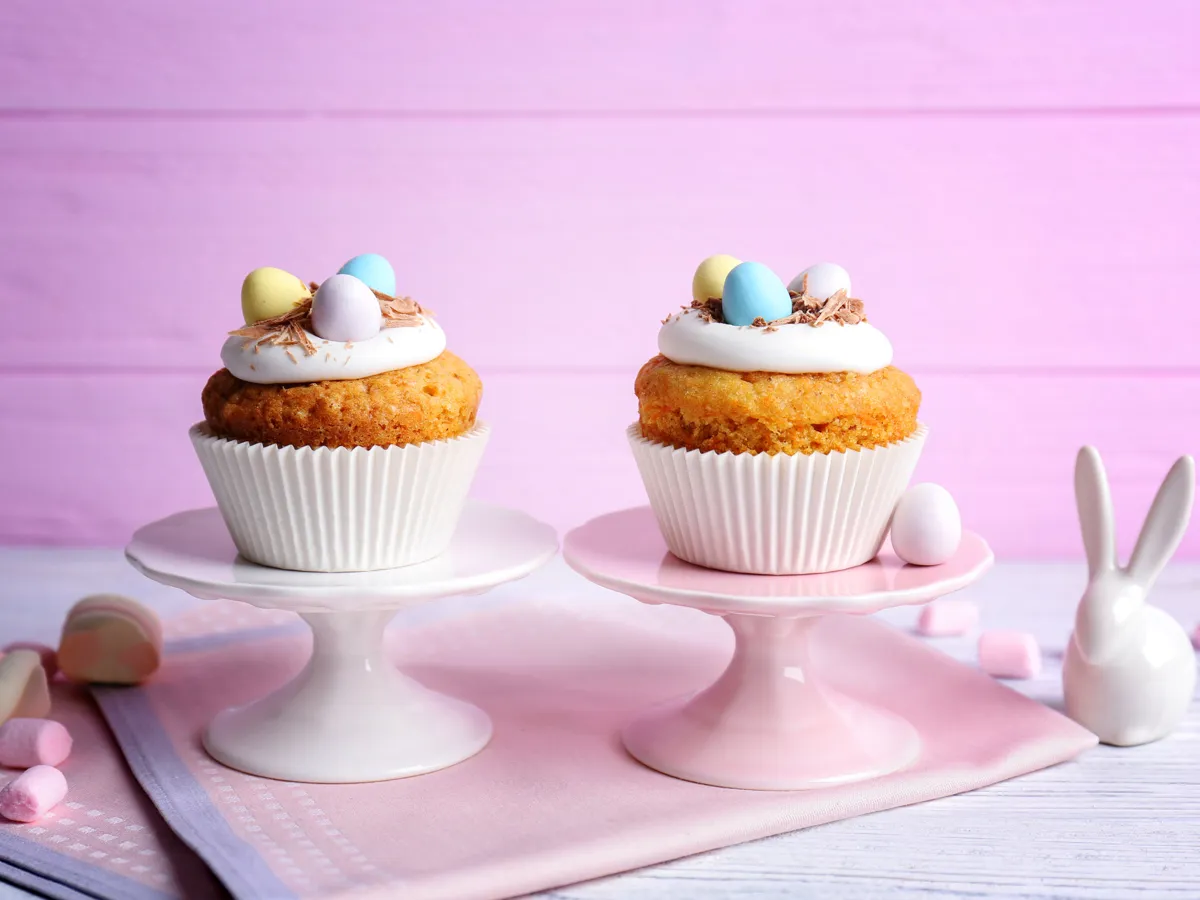
- Optional Decoration: Affix any additional decorative elements like ribbons or lace for a more themed presentation. For more cupcake decorating ideas, see our Cupcake Decorating page.
Personal Touches
Once your base stand is constructed, don't hesitate to add personal touches. For example, you might consider using chalkboard paint on one tier to label your cupcake flavors. I found that wiping the wood finish with a damp cloth after sanding helps achieve a beautifully smooth texture.
Additional Thoughts
While there are other creative ways to display cupcakes, such as using tiered trays or stacked plates, a wooden stand adds a homemade charm and sustainable choice. The beauty of crafting your own cupcake stand is in tailoring it to your needs and preferences. For inspiration, check out these creative cupcake stand ideas. It doesn't have to be perfect; it just has to make you happy.
Feel free to explore various online resources and woodworking tutorials if you're new to using certain tools. Websites like Family Handyman and DIY Network offer great advice for woodworking novices.
Creating a wooden cupcake stand can seem a tad daunting at first, but with patience and a little elbow grease, you'll have a unique item that reflects your style. Enjoy the process, and don't hesitate to take breaks if needed. Your cupcakes deserve a beautiful showcase!