The joy of baking cupcakes extends beyond the kitchen. Presenting them in an appealing way is a delightful aspect of the process. Decorating a cupcake stand can elevate the visual appeal of your creations and enhance any event’s ambiance.
Start Simple: Understand Your Theme
Before diving into decorations, consider the occasion. Whether it’s a birthday party, wedding, or casual gathering, your cupcake stand decor should resonate with the event’s theme. Subtle touches that align with the theme can make your stand more cohesive and charming. For more cupcake stand decoration ideas, check out our dedicated guide.
Materials and Essentials
-
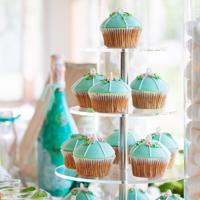
Cupcake Stand: Choose a stand that suits your event. It could be a simple three-tier stand or something more elaborate. For ideas, check out our guide on exploring cupcake stands.
-
Decorative Paper: Wrapping paper or scrapbook paper can serve as beautiful liners for each tier. Match these with your cupcake wrappers for a harmonious look.
-
Ribbon and Fabric: Ribbons can be tied around the edges of each tier. Choose colors and textures that complement the overall theme. For more cupcake table decoration ideas see our dedicated page.
-
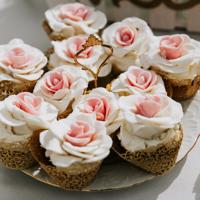
Floral Elements: Real or artificial flowers can add elegance to a wedding-themed event. Be careful when using real flowers, ensuring they are non-toxic and won’t touch the cupcakes.

Step-by-Step Guide
Step 1: Choose a Color Palette
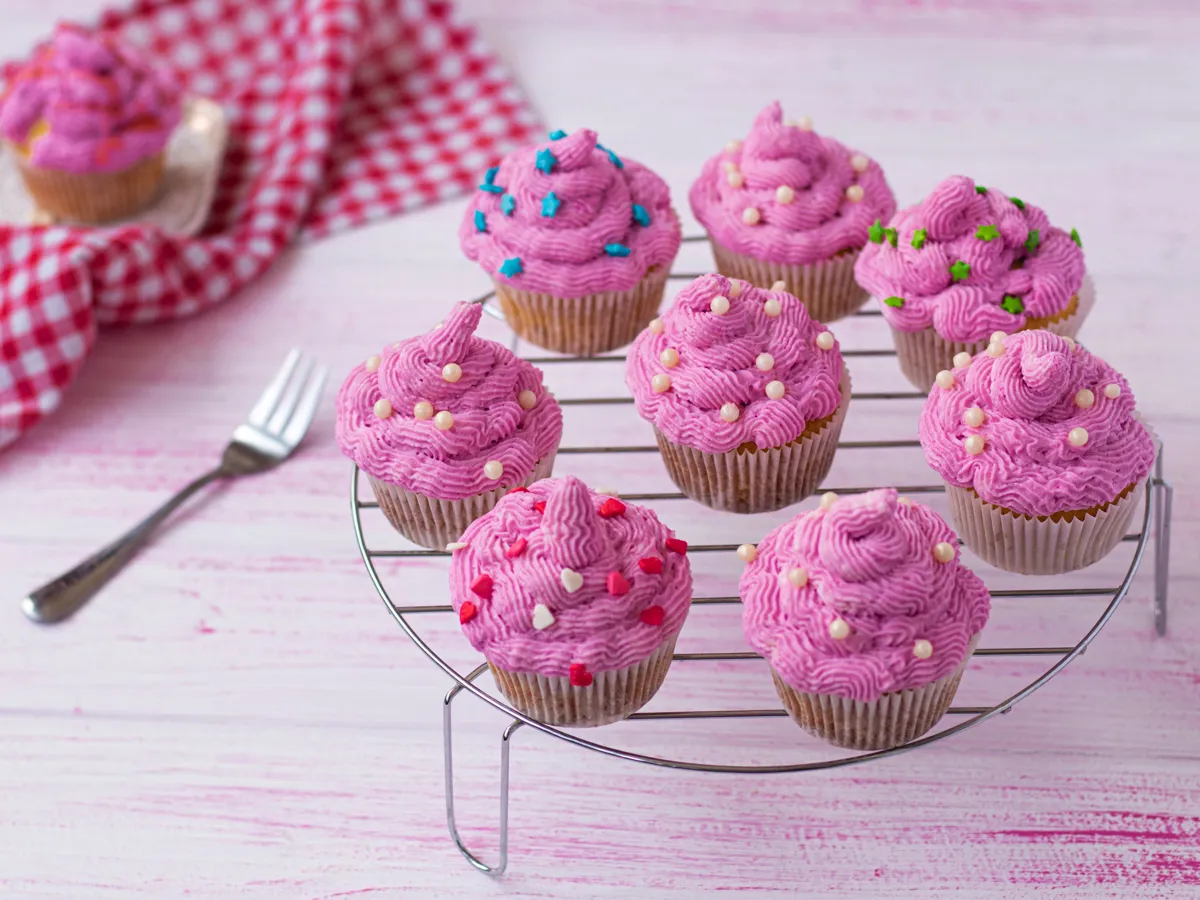
Having a set color palette can help unify the decorations. Consider using no more than three primary colors to avoid overwhelming the display. Pastels are often preferred for weddings and baby showers, while vivid, bright colors might suit a birthday party. If you’re decorating for a party, you might find inspiration in our guide on decorating a table with cupcakes.
Step 2: Prepare the Stand
If your stand is constructed of a material that can be painted or covered, consider doing so to match the day’s theme. For a temporary arrangement, covering the tiers with decorative paper can add significant visual interest. See more cupcake stand ideas for inspiration.
Step 3: Add Ribbons and Fabric
Wrap ribbons around the edges of each tier. Secure them using double-sided tape to ensure clean lines. This is an opportunity to incorporate textures like lace or burlap, which can add a rustic or elegant touch. For more rustic cupcake stand ideas to inspire your display, check out our dedicated page.
Step 4: Incorporate Florals and Greenery
Place small bouquets or sprigs of greenery around the base of the stand or between tiers. If you choose real flowers, ensure they are fresh and securely placed to avoid them tipping over or getting damaged.
Step 5: Personalize It
Consider naming each cupcake flavor with a small card in front of the stand. This adds a personal touch and helps guests choose their preferred flavor. If you’re using a mini cupcake stand, smaller cards might be more appropriate.
Step 6: Review and Adjust
Once everything is in place, step back and look at the overall stand. Make adjustments as necessary, ensuring the decorations don’t overpower the cupcakes themselves.
Simple Ideas and Examples
-
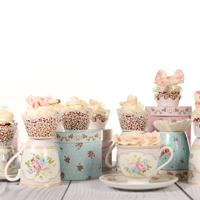
Vintage Tea Party: Line each tier with doilies, add some floral teacups as accents, and use pastel-colored wrappers and ribbons.
-
Rustic Wedding: Incorporate burlap and lace, wood slice bases on tiers, and soft-colored artificial flowers for a quaint touch. For more inspiration, check out these rustic cupcake wedding cake ideas.
-
Modern and Minimalist: Use clear or metallic stands with simple geometric shapes, single-color cupcakes, and minimal decorative elements. For more ideas, explore modern cupcake stands.
Final Thoughts
Decorating a cupcake stand is a personal and creative way to showcase your baking efforts. It’s about finding a balance that reflects the occasion while letting the cupcakes shine. Remember to enjoy the process and make it your own. Your guests will appreciate the thoughtful presentation and the effort you put into it.
In the end, it’s not about perfection but the love you pour into creating a display that brings everyone together.